Thursday, March 1, 2012
Day 29: A Great Big Thank You!
This blog has been incredibly fun to write. A great big THANK YOU to everyone who read it and posted throughout the month!
Tuesday, February 28, 2012
Day 28: In the Home Stretch
We are now in the home stretch for "Use-it-Up" February. I think this is a great time to give a review of the successful month.
In the last 28 days I have made 17 full dinner meals, not to mention ALL those leftovers; 4 lovely breakfasts (one is a bonus that I'll share at the end of today's post); 3 desserts, 1 appetizer; and of course enough frosting to effectively cover my kitchen floor in a permanent coat of sticky white powder.
I have completely used up approximately 61 ingredients from my cupboard, roundabout, freezer and refrigerator, and made a massive dent in countless others.
I have a sparkling clean refridgerator, which I count as a humungous success!
I had to stop at the store on the way home tonight to get the following essentials.
And the grocery bill grand total for the entire month of February...drumroll...dunt, dunt, da, da...$127.28.
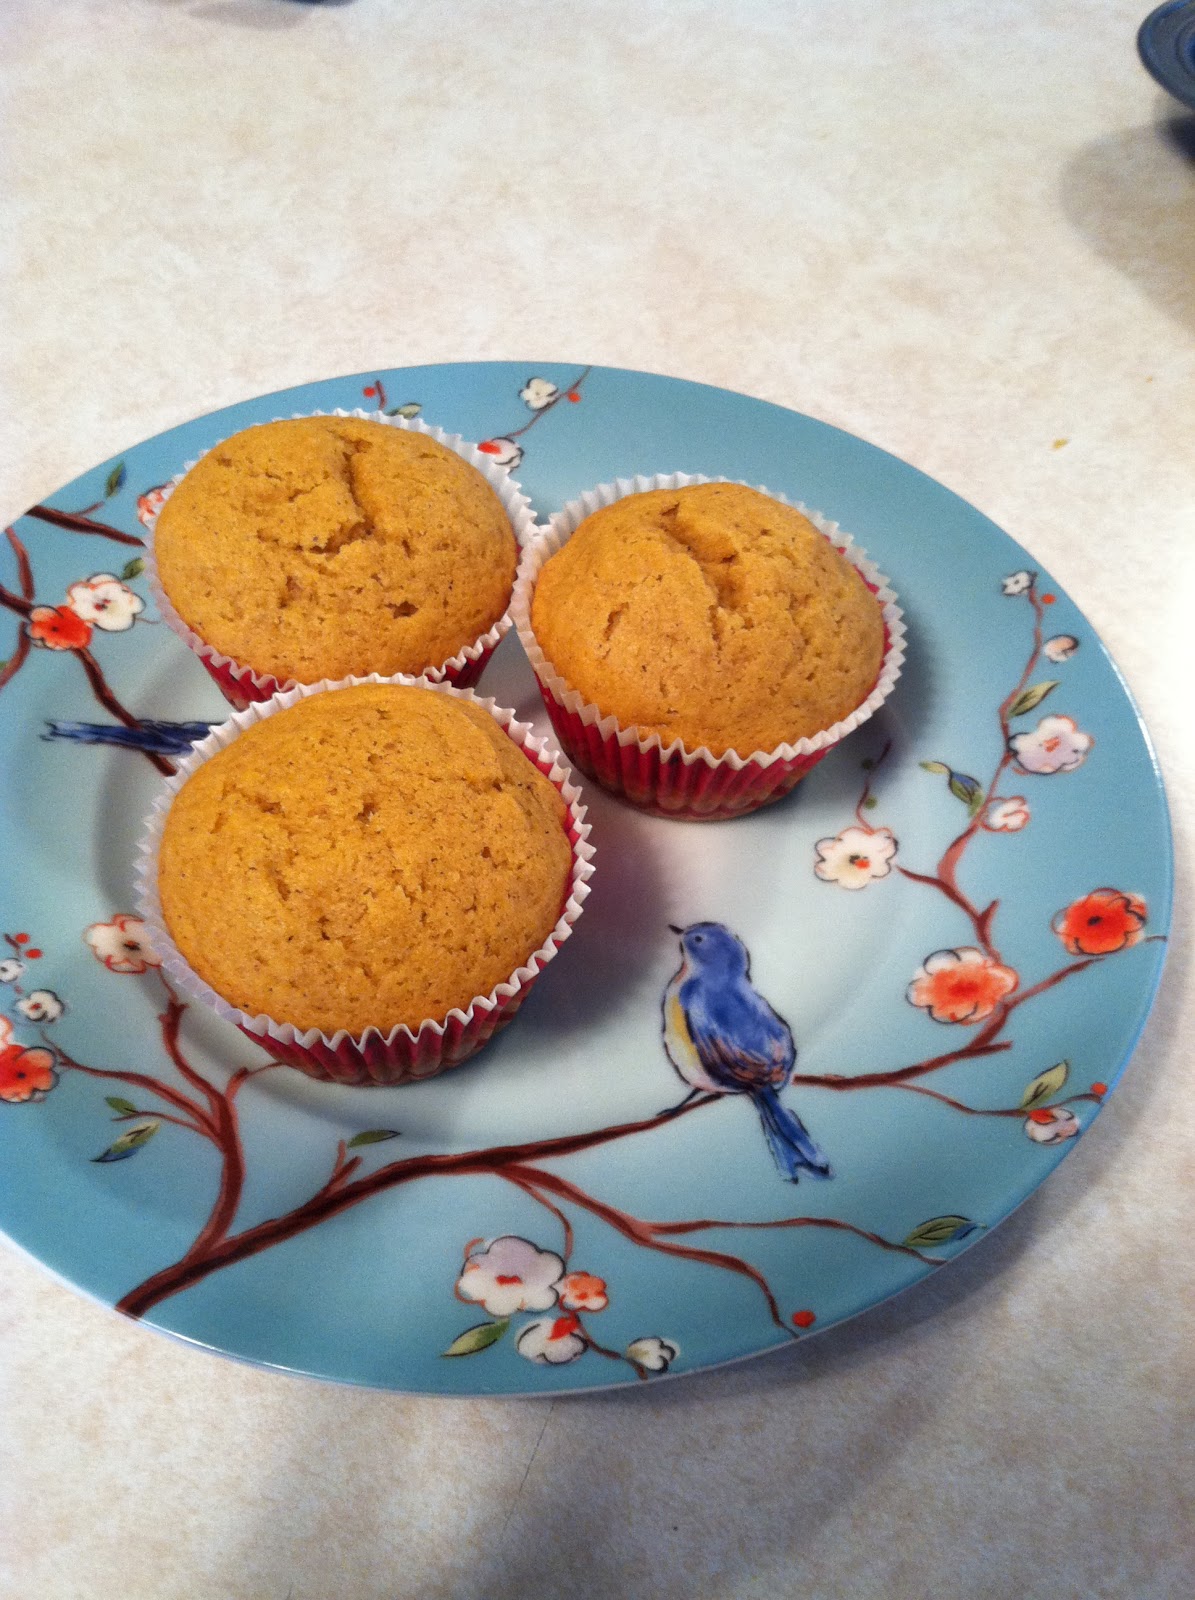
So I promised a bonus breakfast recipe at the end of today's post, and here it is. Do you remember those completely delictable pumpkin waffles? Well, remember that I halved the recipe because I was only cooking for one and half persons, which left me with half a can of pumpkin. I stored that in an airtight container in the fridge. It haunted me a bit, because I didn't know what to do with it, and I really didn't want to throw it out. Should I make waffles again? What does one do with half a container of pumpkin (or as I measured later roughly 1 cup of pumpkin puree?) The answer dawned on me late Saturday night as I contenplated what to make for Sunday's breakfast. Pumpkin muffins! This recipe is actually for pumpkin bread, but I was really hungry Sunday morning and didn't want to wait for the bread, so I put the batter into muffin cups and cut the baking time way down.
Pumpkin Muffins
In the last 28 days I have made 17 full dinner meals, not to mention ALL those leftovers; 4 lovely breakfasts (one is a bonus that I'll share at the end of today's post); 3 desserts, 1 appetizer; and of course enough frosting to effectively cover my kitchen floor in a permanent coat of sticky white powder.
I have completely used up approximately 61 ingredients from my cupboard, roundabout, freezer and refrigerator, and made a massive dent in countless others.
I have a sparkling clean refridgerator, which I count as a humungous success!
I had to stop at the store on the way home tonight to get the following essentials.
And the grocery bill grand total for the entire month of February...drumroll...dunt, dunt, da, da...$127.28.
So I promised a bonus breakfast recipe at the end of today's post, and here it is. Do you remember those completely delictable pumpkin waffles? Well, remember that I halved the recipe because I was only cooking for one and half persons, which left me with half a can of pumpkin. I stored that in an airtight container in the fridge. It haunted me a bit, because I didn't know what to do with it, and I really didn't want to throw it out. Should I make waffles again? What does one do with half a container of pumpkin (or as I measured later roughly 1 cup of pumpkin puree?) The answer dawned on me late Saturday night as I contenplated what to make for Sunday's breakfast. Pumpkin muffins! This recipe is actually for pumpkin bread, but I was really hungry Sunday morning and didn't want to wait for the bread, so I put the batter into muffin cups and cut the baking time way down.
Pumpkin Muffins
3 cups canned pumpkin puree
1 1/2 cups vegetable oil
4 cups white sugar
6 eggs
4 3/4 cups all-purpose flour
1 1/2 teaspoons baking powder
1 1/2 teaspoons baking soda
1 1/2 teaspoons salt
1 1/2 teaspoons ground cinnamon
1 1/2 teaspoons ground nutmeg
1 1/2 teaspoons ground cloves
(I actually cut this recipe down to 1/3 because it said it would yield three 9x5 inch loaf pans. Whoa, that's a lot, and I only had one cup of pumpkin, so breaking it down to 1/3 of the recipe just made good sense. If you like a lot of pumpkin you can go all out, pumpkin bread/muffins freeze really well.)
Preheat the oven to 350 degrees, and line your baking cups (this makes about 12 muffins that are filled 3/4 full.) Or one loaf pan.
In a large bowl, mix together the pumpkin, oil, sugar, and eggs. Combine the flour, baking powder, baking soda, salt, cinnamon, nutmeg, and cloves; stir into the pumpkin mixture until well blended. Scoop batter into baking liners about 3/4 full, I like my muffin to have a nice little top - it's the best part after all!
 I wish I could tell you how long I baked these...approximately 20 minutes, or as long as it takes to let the dog out, make a bottle, wipe off the counter, snuggle a waking baby, and change a quick soggy diaper. About that long or so. The best way to tell is your kitchen will start to smell delicious, the tops will start to brown slightly and you can check them like you would a cake; if your knife comes out clean, they are done.
Monday, February 27, 2012
Day 27: 20 Minute Dinner
I asked Kevin an important question tonight, "So...the name of my blog is "Use-It-Up February" What happens when February is over?" His answer came in the form of another question. "Did we actually use everything up? I doubt it. If you like it, just keep going." Hmmm...And the countdown to February's end begins.
I'm not exactly sure if I will continue or jump back in with a new project for March, but I do know this little experiment has been a ton of fun, not to mention productive and a grocery saver. I'm looking forward to posting all the final results later this week.


I'm not exactly sure if I will continue or jump back in with a new project for March, but I do know this little experiment has been a ton of fun, not to mention productive and a grocery saver. I'm looking forward to posting all the final results later this week.
Tonight's "use-it-up" meal was a good one. Two kinds of ravioli, creamed spinach, and garlic bread. This is the kind of meal that I love, hot, tasty, and you can get it on the table in less than 20 minutes. Here is the cast of characters.

Store brand toasted ravioli, and Costco squash ravioli that I love, love, love! The toasted ravioli goes into a hot 425 degree oven for 12 minutes, and the squash ravioli gets started a little later with only 4-5 minutes of cooking time in boiling water.
While that is going I started to heat the tomato sauce, and melt a little butter into a saute pan with garlic for the creamed spinach. The garlic you see is my cheater version that comes already minced. This is really handy to have on hand to add quickly to sautes or sauces. I took a picture because I thought the colors were even pretty on the stove top.

The spinach was about as lucky as a leafy green can get because it got wilted into the hot butter and garlic and then sprinkled with a little mozzarella. I watched Guy Fieri or maybe Giatta add a little lemon to wilted spinach once, and I actually had lemon on had (thanks to the chicken casserole recipe) and tried it. Amazing! The brightness of the lemon adds a pop of flavor to the bitter spinach and mellows nicely against the garliciness. And I almost forgot to mention the garlic bread! (By the way this entire month I have gotten by with out buying bread of any kind. We had no fewer than 4 packages of homemade rolls in the freezer from my Great Grandma Pearl. I'm so grateful to have these on hand!) The garlic bread is just dinner rolls that have buttered with a little butter and garlic mixed together with a sprinkle of cheese on top.

Delicioso!(In my best Italian accent!)
What I used-up:
Spinach
Remaining mozzarella
Dinner Rolls
Saturday, February 25, 2012
Day 25: Lovely Memories and a Delicious Recipe
Food writers and chefs often refer to "food memories" which are tastes and flavors that evoke precious or sour memories in our psyche that can become as clear as looking at a photograph. For me, most of my food memories are happy ones that summon feelings and memories of comfort, love, inclusiveness, togetherness, family, and a genuine lightness of heart. At our home growing up we were very blessed to spend most evening meals together, and it is where I learned some of the most important lessons in life. Opening in prayer together, listening to my parents talk about their days, sharing with one another, and partaking in nourishing meals.
To this day one of the meals that brings me right back "home" is chicken casserole. This is a dish that was my mom's, my grandma's, and her mother's (my Edith Grandma's) dish, and probably a few generations before. I'm not exactly sure of the history but I would venture to guess that it was derived out of all of their gifts for using up what they had available, which usually included chicken.
Living on the farm having chicken didn't mean going to the freezer and taking out a pre-packaged bird from the grocery store. More often than not, it meant raising the chicks to hens, and then being personally involved in the "process" of preparation, of which I won't divulge the details except to say there is plucking involved. My Grandma tells the story of unexpected relatives coming to visit when she was a child and my Edith Grandma going out into the yard and selecting the evening's meal straight from the barn.
When you know the chicken that well, you definitely develop a full appreciation for using up every last part. This chicken casserole is a great example of what you can do with the leftover meat if you have roasted or boiled a chicken for another purpose.
To start you will need a casserole pan (9x13 works well) that has been sprayed with non-stick cooking spray, rice (instant will work just fine), one can cream of "something" soup although celery is my preference, mayonnaise, onion, celery, lemon, and chicken.
Start by cooking rice to package instructions so that you have approximately 2 cups cooked. Next chop 1 1/2 cups of celery or 5 large stocks. Chop 1/2 an onion (I didn't have an onion, so I used up some scallions which worked well.
Next pour can of cream of "something" soup into a bowl. (I have to pause here for a moment of confession. I hate using cream of "something" soup in anything. Not because I'm opposed to its contents - which I probably should be, but because I hate the bland color, gelatinous texture, and especially because I hate the "thuulmp" sound that it makes coming out of the can. I kind of have to do this and divert my eyes until its all over.) Next pour in 3/4 cup of mayonnaise. Cut the beautiful yellow lemon in half and squeeze approximately 1 Tablespoon into the sauce. The lemon is a very important part because it balances out the mayo and soup with a touch of sourness and sweetness, which in the end result give the recipe that "hmm, what is that" that will make you try seconds and thirds! Pinch of salt and pepper, and stir.


Chop the leftover chicken into bite sized pieces and place chicken, celery, and onion at the bottom of the casserole dish. When rice is fully cooked, pour in rice. (Forgive my blurry iPhone picture, you get the idea.)

 Next pour the sauce over everything and gently fold together until incorporated. This will be incredibly thick, so with a spatula gently press mixture into the pan as you go. Cover the dish tightly with foil and bake at 375 degrees for about one hour, or until bubbly.
To this day one of the meals that brings me right back "home" is chicken casserole. This is a dish that was my mom's, my grandma's, and her mother's (my Edith Grandma's) dish, and probably a few generations before. I'm not exactly sure of the history but I would venture to guess that it was derived out of all of their gifts for using up what they had available, which usually included chicken.
Living on the farm having chicken didn't mean going to the freezer and taking out a pre-packaged bird from the grocery store. More often than not, it meant raising the chicks to hens, and then being personally involved in the "process" of preparation, of which I won't divulge the details except to say there is plucking involved. My Grandma tells the story of unexpected relatives coming to visit when she was a child and my Edith Grandma going out into the yard and selecting the evening's meal straight from the barn.
When you know the chicken that well, you definitely develop a full appreciation for using up every last part. This chicken casserole is a great example of what you can do with the leftover meat if you have roasted or boiled a chicken for another purpose.
To start you will need a casserole pan (9x13 works well) that has been sprayed with non-stick cooking spray, rice (instant will work just fine), one can cream of "something" soup although celery is my preference, mayonnaise, onion, celery, lemon, and chicken.
Start by cooking rice to package instructions so that you have approximately 2 cups cooked. Next chop 1 1/2 cups of celery or 5 large stocks. Chop 1/2 an onion (I didn't have an onion, so I used up some scallions which worked well.
Next pour can of cream of "something" soup into a bowl. (I have to pause here for a moment of confession. I hate using cream of "something" soup in anything. Not because I'm opposed to its contents - which I probably should be, but because I hate the bland color, gelatinous texture, and especially because I hate the "thuulmp" sound that it makes coming out of the can. I kind of have to do this and divert my eyes until its all over.) Next pour in 3/4 cup of mayonnaise. Cut the beautiful yellow lemon in half and squeeze approximately 1 Tablespoon into the sauce. The lemon is a very important part because it balances out the mayo and soup with a touch of sourness and sweetness, which in the end result give the recipe that "hmm, what is that" that will make you try seconds and thirds! Pinch of salt and pepper, and stir.


 Next pour the sauce over everything and gently fold together until incorporated. This will be incredibly thick, so with a spatula gently press mixture into the pan as you go. Cover the dish tightly with foil and bake at 375 degrees for about one hour, or until bubbly.
This is where I should show a picture of the dish coming out of the oven for the finishing touches, but unfortunately I was in a hurry and didn't take one. At about 45-50 minutes or so into cooking you can finish the dish by crushing potato chips on top, and finishing in the oven uncovered. I would recommend this, as it gives a great salty, crunchy crust to an already amazing casserole.
I should have a final picture of the beautiful brown crust, the gooey delicious casserole, and my family devouring it. But alas, I do not. When this came out of the oven we ate it so quickly that all there was left to show by the time I remembered the picture was a half eaten casserole and empty plates. Delicious success!
What I Used-Up:
Chicken
Celery
Scallions
Cream of celery soup
Thursday, February 23, 2012
Day 23: My Teal Colored Dream Appliance
Hello beautiful, would you like to live in my kitchen?

When occaisional boredum, writers block, or mid-afternoon sleepiness hits, or I just plain need to think about something else for a few minutes, I often find myslef perusing The Pioneer Woman woman website and blog. I love Ree's story and I think her writing is not only delicious - food writer and all, but highly entertaining, lighthearted and funny. Sometimes I think that if Kevin ever fully wins the "farm arguement" and we move out to the boonies, maybe I could be just like Ree...And then I think about the disgusting cow crap laden laundry that I get to do just once a week multiplying by seven days and start to change my mind again.
A long way to say that I was reading Ree's blog today and she is giving away three of these beautiful, beautiful mixers! I entered, but I never win anything (well that's not completely true, when I was 11 I won a disposable camera from the Mars Candy Company by sending in a UPC code, but that's it) so I'm not making space on the countertop just yet. But I kind of am. The truth is I have wanted a Kitchenaid Mixer forever! I even started to rationalize this blog as the perfect excuse to splurge and get one. a) Because of all the money I've saved using-it-up; b) I have used my hand mixer at a minimum of 7 times just this month; and c) it would look so beautiful on my countertop in my turquoise colored kitchen. But then I remembered that our car is due for licensing, taxes, etc. and Poof! there goes my teal colored dream appliance. Maybe if you all cross your fingers for me that I will win, my luck might improve. If you do, and I do win, I promise to make the most fabulous cookies in the world as a thank you. I'll use this for good...promise! (Do you hear that Universe?)
Okay, enough about that. The real reason for posting tonight is to give you as promised a great "Day 2" recipe for that leftover runza mixture, stuffed acorn squash. This is a dish that my mom stumbled upon not that long ago and let me tell you that I can not eat runzas now without hoping this round two is in the near future. It's SO easy not to mention healthy and delicious!
Cut an acorn squash in half, scoop out the innerds with a large spoon. Place both halves yellow side up in a baking dish, and drizzle with olive oil. Now I used up my olive oil way back on Day 4, so I melted a little bit of margarine and drizzled that overtop - works just fine. Sprinkle with a dash of salt and pepper. Place into oven at 375 degrees for about 25 minutes. After the squash has started to soften scoop in the leftover runza mixture (beef, sausage, cabbage, and cheese) into the natural little bowls made from scooping out the squash guts. Over with foil and bake another 20 minutes until squash is soft and meat heated through.
What I used-up tonight:
1 acorn squash
Remainder of the runza mixture
2 Tab of margarine
Extra energy day dreaming about my "someday" mixer
Wednesday, February 22, 2012
Disjointed Day 22
To any educators out there, I would like to propose that in between lesson plans on the parts of a cell, mitosis, and frog dissection that you work in Chicken Anatomy 101. Over the last couple of years I have made a roast chicken at least once a month and call it unobservant, or perhaps under confident, but I can never remember which part goes up. Recipes say that the breast should be facing up, but lets be honest once the chicken is horizontal in the pan, minus its head, feathers, tail, etc. it all starts to look the same.
Really of all the topics that are covered in public school curriculum, this would be a very good subject to make mainstream. I'm not talking home economics (or do they call it "life skills" now?) but mainstream curriculum. This is a chicken. This is the breast of the chicken, it goes up in the pan. This is the underside (?) of the chicken, it goes down. And maybe a handy chart, song or mnemonic devise might be nice as well. This would only ensure that people could feed their children, feed their spouse, impress loved ones. It would increase productivity at work because people would be Googleing "Chicken Chart," "How to Roast a Chicken," or looking at pictures of cooked chickens trying to decide which end is up!
I was going to post pictures of our lovely roasted chicken, which by pure luck ended up with the breast side up, thank you very much. But I tried a new recipe and while okay, it was just okay...The good news is I have learned that however you cook a chicken right side up, wrong side up, upside down, you can't really ruin it. Even if the initial results aren't exactly what you had hoped a good cooked chicken can make fabulous meals for days.
So instead of a beautiful brown bird to share, I'm going to share a recipe that for me truly is a no-fail, super simple breakfast dish that we have come to love in our house. When I first read the recipe for Amish oatmeal one reviewer described it as a breakfast cookie. (Can the Amish eat cookies? Another good question for you teachers out there or Google.)
I like this description because it really describes the final texture more than anything. Now I really like oatmeal, but when I make oatmeal (and when I say "oatmeal" I really mean instant oatmeal from the packet) I add about 1 Tab of hot water. Just enough to bind it together, but never ever more than that. The minute it gets soupy the texture starts to freak me out a bit. I have recently learned that my little sister also eats her oatmeal this way. I'm not sure where we picked it up; my dad wouldn't touch oatmeal with a ten foot poll and my mom likes hers really, really soupy made with hot water and milk.
So here is our "Breakfast Cookie"
1 1/2 cup Quick Cook Oats
1/3 cup sugar
1 tsp baking powder
1/2 tsp salt
1 tsp cinnamon
1/2 cup milk
1/4 cup melted butter
1 egg
1 tsp vanilla
Mix together dry ingredients and add milk, butter, egg and vanilla stirring until incorporated. Pour mixture into a pie pan that has been sprayed with nonstick cooking spray. This goes into a 350 degree oven for 20-25 minutes or until the edges start to look golden brown.
This is one big delicious breakfast cookie that in our house gets eaten throughout the day as a snack, dessert, you name it! This is also a great use-it-up recipe if you have purchased quick oats for oatmeal cookies or to make granola and have some leftover. You can also measure out the dry ingredients into a Ziploc bag and put this in the freezer. Then you can have a breakfast cookie in a snap any time. (My mom's brilliant idea!)
Thanks for indulging this truly disjointed post. I'm not exactly sure what chicken anatomy has to do with oatmeal, but that's just what this particular Day 22 looked like.
Monday, February 20, 2012
Runza vs. runza
I didn't have a Runza until I was in my teens. I actually didn't think anyone else knew about runzas and that it was just our family's thing. You might think I was living under a rock. Growing up my mom's runzas were one of my favorite suppers, and still the smell of browned meat and cabbage instantly makes me feel warm and cozy.
I have never made runzas before, but I thought I would give it a go. I started by tracking down a dough recipe that didn't call for dried milk (who actually has that on hand?) My trusty Better Homes and Gardens cookbook had one that I will now make over and over again. I made mine with my handy-dandy bread machine that I love, love, love! I rely on it a little too much for my bread making kneads (ha,ha) but it's really a fabulous tool. I adapted the order of the recipe in the cookbook to follow the instructions of the bread maker which require liquids first.
1 cup milk
1/3 cup butter, margarine, or shortening
1 beaten egg
3 1/2 cups all-purpose flour
1/4 cup sugar
1 package active dry yeast
What I love is that you dump and go. Pour everything into the bowl, push the setting for 2lbs, dough, and poof, 90 minutes later fabulous dough!
 While the dough was doing its thing I prepared the stuffing mixture. Start by browning 1 lb ground beef and 1 lb ground pork sausage. You can use all beef, but I like the spiciness that the sausage adds. Salt, pepper and approximately 1 tsp dried onion help develop the flavor.
Once the meat is fully cooked add in one 2/3 package of prepared coleslaw mix (you can shred the cabbage and carrots yourself, but it comes so nicely ready, my preference is to go pre-fab.) Stir together and continue cooking until the cabbage starts to wilt. Add in 3/4 cup mozzarella cheese for creamy decadence.


 Now this is just cute (and I'm a little more than proud of my step-by-step photography here) but fold up the dough like an envelope bringing up opposite sides and pinching the ends together. Then seal in any seems and tuck them into a little ball. So cute! Flip over so that the seam side is down.


I have never made runzas before, but I thought I would give it a go. I started by tracking down a dough recipe that didn't call for dried milk (who actually has that on hand?) My trusty Better Homes and Gardens cookbook had one that I will now make over and over again. I made mine with my handy-dandy bread machine that I love, love, love! I rely on it a little too much for my bread making kneads (ha,ha) but it's really a fabulous tool. I adapted the order of the recipe in the cookbook to follow the instructions of the bread maker which require liquids first.
1 cup milk
1/3 cup butter, margarine, or shortening
1 beaten egg
3 1/2 cups all-purpose flour
1/4 cup sugar
1 package active dry yeast
What I love is that you dump and go. Pour everything into the bowl, push the setting for 2lbs, dough, and poof, 90 minutes later fabulous dough!

Once the meat is fully cooked add in one 2/3 package of prepared coleslaw mix (you can shred the cabbage and carrots yourself, but it comes so nicely ready, my preference is to go pre-fab.) Stir together and continue cooking until the cabbage starts to wilt.
 Add in 3/4 cup mozzarella cheese for creamy decadence.
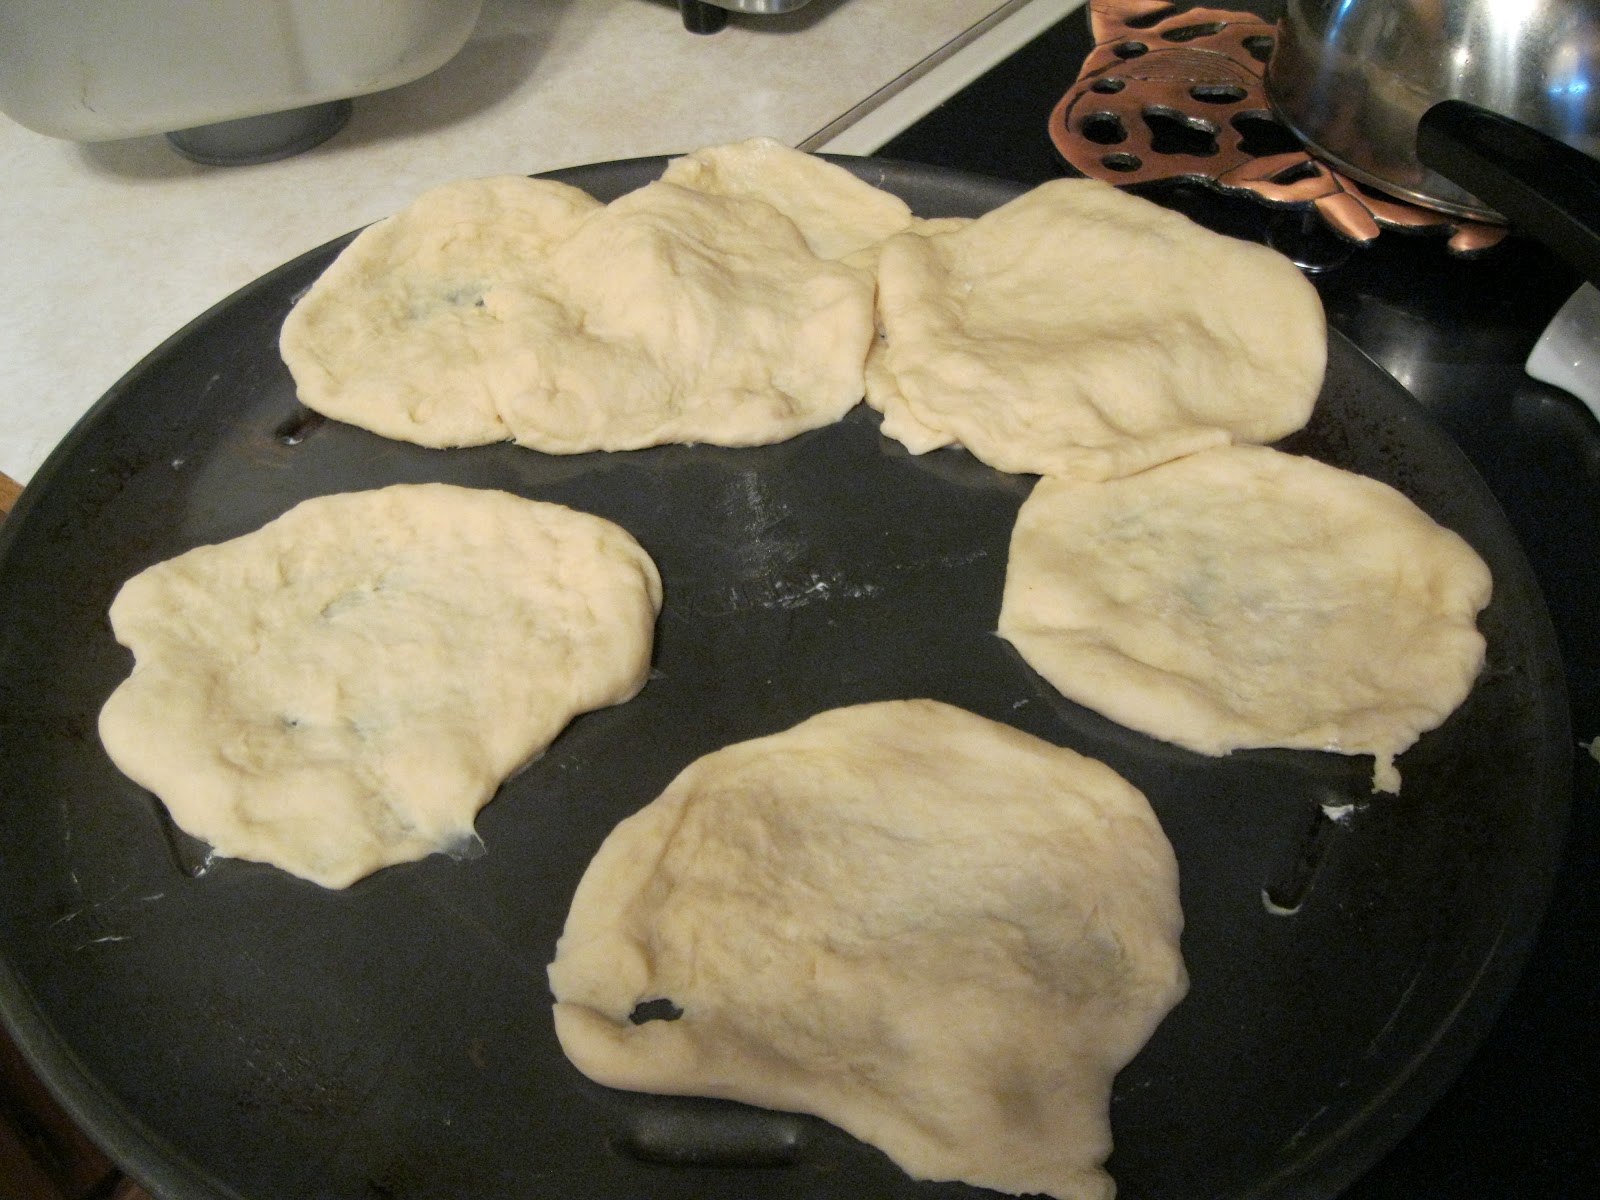

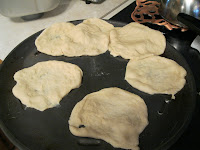
When your dough has risen and is ready, pull out little balls (I'm sure there is a technical term for this, but I don't know what it is) and form with your fingers little round disks, as though you are making super tiny pizzas. No more than 5-7 inches in diameter. When you have your disks prepared, scoop in a heaping spoonful of the meat mixture.


Allow these to rise again for about 15 minutes. (If you have forgotten to pre-heat your oven like I always do, this is a good time to turn it to 375 degrees.)
Once your oven is ready, and the dough has risen slightly pop these in for about 20-25 minutes until just golden. Your house will start to smell like the heavenly scent of fresh baked bread.

YUM!
This recipe results in 10-12 runzas depending on your disk size, so there are always plenty for leftovers. These also freeze and reheat incredibly well for a quick meal another day. You may also have leftover stuffing mixture, and I have a great idea that I'll share with you later in the week for using that up.
Runza vs. runza? Mine would definitely win, except you have got to love their Frings... What I also love about the size of mine is that they are at least 1/2 as big as the restaurant which means that you can eat at least two without guilt. (Well maybe not completely without guilt!) I served mine with baked potatoes (and a sweet potato for me) and frozen vegetables.
What I Used-Up:
1 lb ground beef
1 lb ground pork sausage
1 pkg coleslaw mix
Subscribe to:
Posts (Atom)